Written by: Daniel Koren, Co-Founder, Frameology
Key takeaways
-
Standard sizes like 8×10 and 11×14 keep framing costs low and make gallery wall layouts easier to balance.
-
Pre-designed bundles from online services deliver frames, printing, and templates together at a fraction of local shop prices.
-
AR previews and floor layouts help confirm proportions before ordering, which eliminates costly layout mistakes.
-
Life-size gallery wall templates ensure accurate, first-try installation with minimal wall damage.
-
Explore ready-to-hang gallery walls at Frameology to get started with an affordable, professional result.
Measure your wall and choose your photos
Quick measurements and a focused photo selection set your gallery wall up for success. You’ll avoid ordering frames that feel cramped or lost on the wall.
-
Measure the wall area in inches by width and height.
-
Note any obstacles like light switches, outlets, or windows that affect usable space.
-
Select photos that share a visual theme: a vacation, a family milestone, or a season for a cohesive look.
-
Renters: Classic frames hang from a single center point per frame, which means fewer holes. Damage-free mounting strips are also compatible with Classic frames and gallery walls for truly hole-free hanging.
Once you know your wall dimensions and have your photos selected, the next step is choosing frame sizes that fit both your space and your budget.
Choose standard frame sizes for budget-friendly layouts
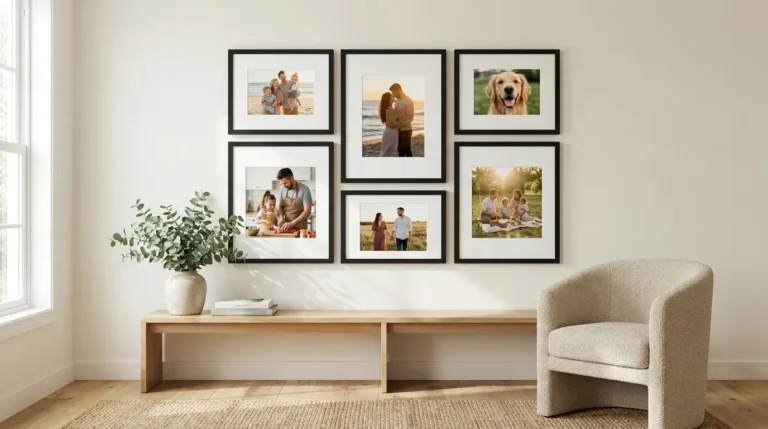
Standard frame sizes usually cost less than custom sizes because they don’t require special cutting. For gallery walls, 8×10 and 11×14 work especially well. These two sizes are large enough to make an impact yet small enough to mix and match. They also sit squarely in Frameology’s most accessible price range, which keeps your total spend predictable.
The Classic Table, starting at $39, is ideal for shelf or ledge displays. The Classic Wall, starting at $59, is the go-to for wall-mounted gallery arrangements. In a direct pricing comparison, Frameology’s 8×10 Classic Wall frame is priced at $59 and the 11×14 at $75, which comes in lower than comparable options from other online custom framing services. Sticking to these two sizes across your gallery wall creates visual rhythm without requiring a designer’s eye. You get an intentional look without overthinking every frame.
Calculate total cost for a 6-photo wall
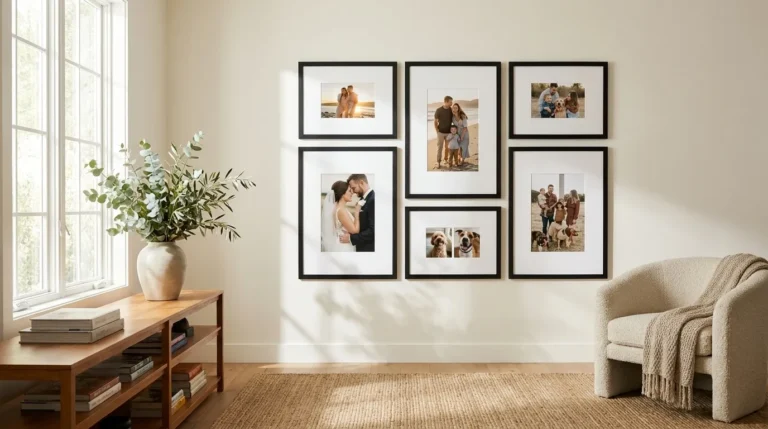
A simple cost breakdown helps you decide between individual frames and pre-designed gallery wall bundles. Here’s how pricing works for a six-photo gallery wall using Frameology’s Classic line, ranging between $386 to $522 depending on your layout preference.
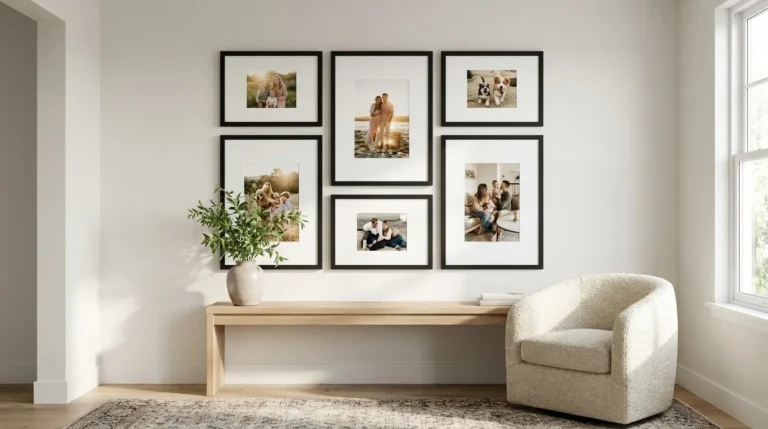
Pre-designed Classic gallery wall bundles are the most cost-effective route for a six-frame wall. The Classic Hallway ($466) and Classic Hallway II ($466) offer structured multi-frame arrangements sized for a hallway or accent wall. The Classic Offset ($386) and Classic Offset II ($522) deliver more dynamic asymmetric layouts. The Classic Grid ($594) arranges six frames in a clean, uniform grid, with printing and a gallery wall template included in every order.
For a 6-frame wall built from individual Classic Wall frames at the $59 starting price mentioned earlier, the baseline cost starts at $354 before any size upgrades. Choosing a pre-designed bundle like the Classic Grid for $594 — which includes six frames in a structured layout with a gallery wall template — delivers a complete, ready-to-hang result at a predictable price.
By comparison, local frame shops typically charge $400–$800 per frame, so a six-photo wall could run $2,400–$4,800 before installation. Online custom framing through Frameology delivers a professional result for a fraction of that cost.
Compare online custom framing to local options
Local frame shops offer one-on-one craftsmanship, but the price reflects it. A single custom-framed photo at a local shop typically costs $400–$800, and that figure doesn’t include installation or travel time. For a six-photo gallery wall, the math becomes prohibitive fast. Many shoppers look for alternatives once they see that estimate.
Big-box retailers offer lower price points, but you trade away quality and personalization. You’re choosing from a fixed inventory of generic frames instead of uploading your own photos for custom printing and framing.
Online custom framing services close the gap, but some make the process smoother than others. Hunker named Frameology “best for budget-conscious shoppers” in a comparison of four popular online custom framing services, citing pricing and quality as standout advantages. Frameology’s checkout process also requires just 6 clicks from homepage to cart, including photo upload, compared to 9–11 clicks on competing platforms, as documented in Frameology’s own service comparison.
Less friction means fewer abandoned carts and a faster path to a finished wall. Classic frames have fast shipping and typically arrive within a week, which helps when you’re decorating for an event, a housewarming, or simply don’t want to wait.
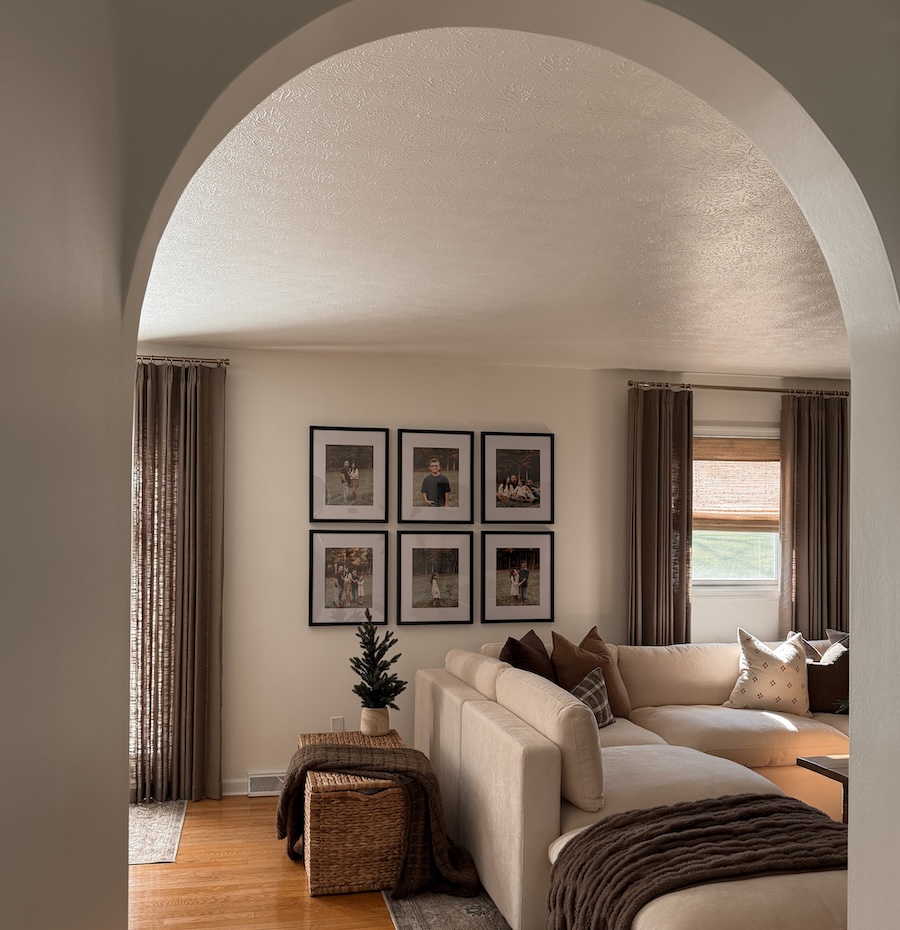
Plan your layout and preview with AR
Layout planning is where many gallery wall projects stall. The gap between a saved Pinterest post and a finished wall usually comes down to a measuring tape and a lot of second-guessing.
Two simple approaches work well before you commit to a layout:
-
Floor layout method: Arrange your frames on the floor in the intended configuration. This gives you a true-to-scale sense of spacing and proportion before anything goes on the wall. Poster Store’s gallery wall guide recommends starting from a straight bottom or top edge, or centering a larger piece and placing smaller ones around it. That same principle works for framed photo layouts.
-
Mobile AR preview and gallery wall template: Frameology’s mobile-only AR tool lets you project a true-to-scale preview of your exact frame directly onto your wall using your phone’s camera before you buy. Open Frameology on your phone, customize your frame, and tap the AR icon, and you’re ready to preview without an app download. Then, once your Luxe or Classic gallery wall arrives, simply follow the included template to hang your frames.
Whether you choose the floor layout method or AR preview with gallery wall template, both approaches eliminate the most common gallery wall mistake: committing to a layout that doesn’t fit the space.
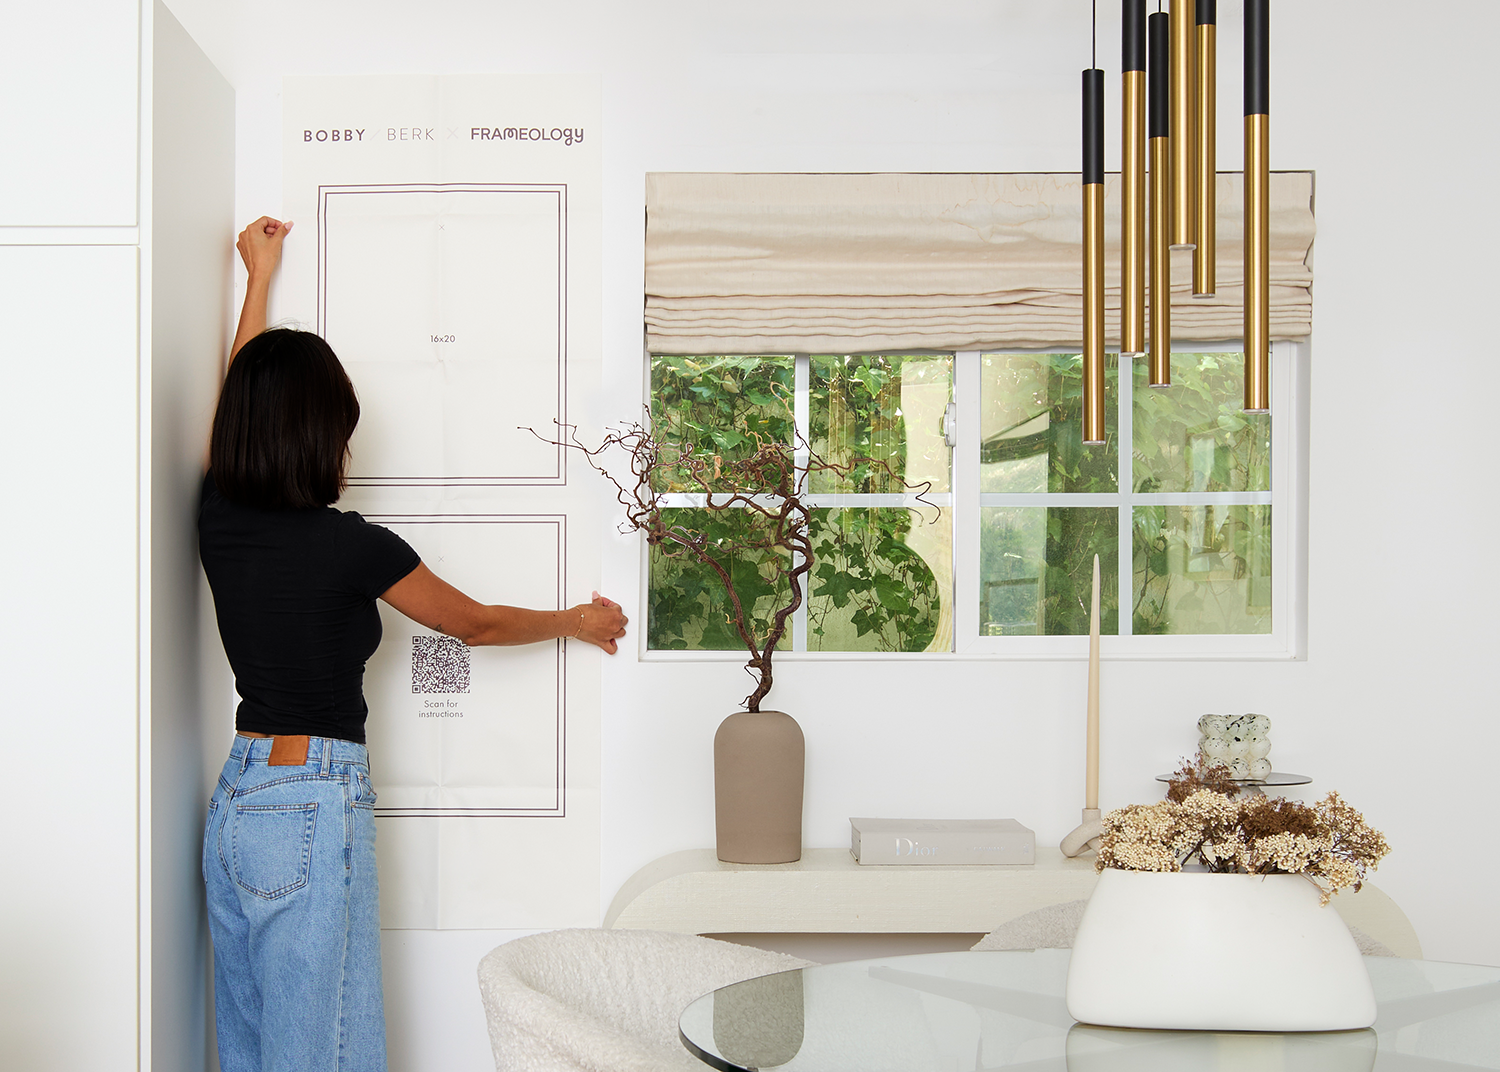
Install with a life-size gallery wall template
Life-size templates turn installation into a straightforward, one-time project. Every Classic and Luxe gallery wall from Frameology includes a custom, full-scale gallery wall template that shows you exactly where each frame goes. This printed guide helps you get the layout right on the first try with zero unnecessary holes. House Beautiful confirmed that Frameology ships frames with a true-to-size paper template and nails to mark exact hanging positions on the wall.
Installing a Classic gallery wall
Follow these steps to hang a Classic gallery wall with your included gallery wall template:
-
Tape the gallery wall template to your wall at the desired position.
-
Hammer nails into the marked spots through the template.
-
Remove the template carefully.
-
Hang each Classic frame on its corresponding nail using the single center hanger.
The entire process typically takes less than an hour. Classic frames hang from a single center point, so you’ll need to bring your own nails (or renter-friendly adhesive strips) and level, since these aren’t included with Classic frames.
Installing a Luxe gallery wall
Luxe gallery walls arrive with more hardware and a slightly different hanging process. The gallery wall template still guides every step.
-
Tape the Luxe gallery wall template to your wall.
-
Create dimple marks at the indicated points, then hammer nail holes.
-
Remove the template, then hammer plastic markers and nails into the spots you marked.
-
Hang each Luxe frame using the dual-point no-wire hanging system for perfect leveling.
Luxe gallery walls include all necessary hanging hardware, including nails, a mini-level, and a no-wire hanging system, right in the box. Don’t use damage-free mounting strips with Luxe frames, since they can damage the sealed permanent kraft paper backing.
Decide when to upgrade to Luxe materials
Frameology’s Classic vs. Luxe comparison confirms that Classic frames feature a removable backing, so you can swap photos whenever you want. That flexibility is ideal for seasonal refreshes or new memories. Luxe frames make sense when permanence and museum-grade materials matter most. Every Luxe Wall is custom-framed in the United States using premium solid wood and metal moldings, acid-free mats, and UV-protecting museum-grade acrylic. The sealed kraft paper backing protects the photo permanently. Photos can’t be swapped, but they’re protected for the long term. As House Beautiful noted, Classic frames allow photo swaps while Luxe frames do not.
The Luxe Diptych — Frameology’s most affordable Luxe gallery wall priced at $638 — includes all hanging hardware plus the gallery wall template. Luxe products ship in about 7–10 business days because of their artisan craftsmanship. If you’re furnishing a permanent space and want an editorial result that looks professionally designed, Luxe is the upgrade worth making.
Frequently asked questions
How much does a 6-photo gallery wall cost at Frameology?
Pricing depends on the layout and frame tier you choose, but it ranges between $386 to $522 for a Classic six-frame gallery wall. Building a six-frame wall from individual Classic Wall frames starts at $354, based on the $59 Classic Wall starting price. Luxe gallery walls with six frames include the Luxe Hallway for $914 and the Luxe Bricklay for $1,074.
Do all gallery walls include hanging templates?
Classic and Luxe gallery walls include life-size gallery wall templates that make installation simple and straightforward. Canvas galleries, Metal galleries, and gallery walls created using Frameology’s Gallery Wall Design Service don’t include templates because their construction and customization work differently and often require more tailored installation methods.
What’s the difference between Classic and Luxe frames?
Classic frames allow photo swaps with a removable backing and use a single center hanger. They ship quickly and typically arrive within a week. Classic frames start at $39 for tabletop and $59 for wall frames. Luxe frames use museum-grade materials and a sealed permanent backing, so photos can’t be swapped. They also include a no-wire dual-point hanging system and all hardware. Luxe frames start at $79 and ship in about 7–10 business days.
Can renters hang a Frameology gallery wall without damaging the walls?
Classic frames are renter-friendly. They hang from a single center point, and damage-free mounting strips are compatible with Classic frames for a hole-free installation.
Luxe frames use a dual-point no-wire hanging system and require nails. Damage-free mounting strips shouldn’t be used with Luxe frames, since they can damage the sealed kraft paper backing. For renters, the Classic line is usually the better fit.
How does Frameology’s AR preview tool work?
Frameology’s AR tool is mobile-only and runs right in your browser. Open the Frameology website on your phone, customize your frame or gallery wall, and tap the AR icon.
Your phone’s camera projects a true-to-scale preview of the exact frame onto your wall in real time, so you can see how it’ll look in your space before you commit. No app download or account login is required. The AR tool is available for both frames and photo gifts.